Wax On, Grit Off: Giving a Waxed Cotton Bag Its Winter Once-Over
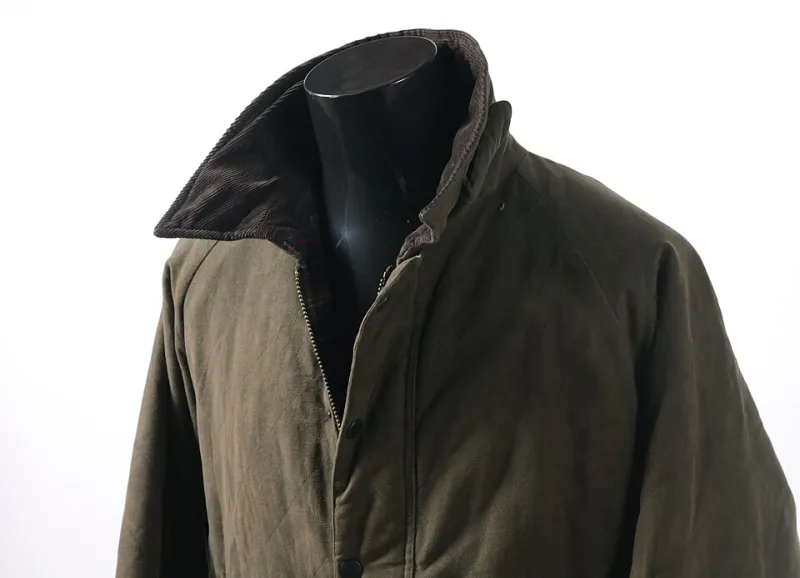
Photo: Robert Sheie, Menswear Market, CC BY 2.0, via Wikimedia Commons
There’s a particular kind of satisfaction in rescuing a waxed cotton bag from the edge of shabbiness. One Sunday afternoon, a soft brush, a tin of wax and a bit of patience can take a bag from dull and gritty to dark, supple and ready for whatever the weather throws at it. This isn’t a full restoration job or a materials lecture. It’s just a sensible seasonal once-over for the bag that carries your laptop, lunch and life through another wet British winter.
Why bother before the cold bites
Waxed cotton is tougher than it looks, but it isn’t invincible. The wax finish gradually wears away at the corners, along strap edges and across the base where the bag meets bus seats, café floors and the occasional puddle. Add road grit, salt from treated pavements and months of drizzle, and that lovely matte finish can start looking tired.
A pre-winter reset does two things. It removes the grit that acts like sandpaper on the fabric, and it tops up the wax before the worst weather arrives. Think of it as a service, not a makeover. The goal is a bag that beads rain again, feels supple rather than brittle and carries its scuffs a little more gracefully.
Gather your kit first
You don’t need much: a soft brush, a couple of clean cloths, cold water, a mild soap for stubborn marks, a wax bar or tin made for waxed cotton, and a hairdryer on a low setting. A plain sheet of newspaper or an old towel is useful for catching flakes. What you don’t need is a washing machine, harsh detergent, a hot radiator or a scrubbing brush. Waxed cotton rewards a light touch.
Step one: empty it and brush it down
Turn the bag upside down and empty every pocket. Receipts, crumbs, a stray pen lid and the inevitable mystery hair tie all need to go. Then brush the dry fabric with a soft brush, working outside or over a bin. Pay attention to seams, the base and the strap, where grit collects like it’s been paid to do so.
This is the least glamorous step and the most important. Before you start, the bottom corners might look grey and slightly fuzzy. After a good brush, the fabric already looks more even. That’s not the wax doing its thing yet; that’s simply the grit leaving the building.
Step two: spot-clean, don’t soak
For most marks, a cloth dampened with cold water is enough. Work gently and blot rather than scrub. If a mark is stubborn, use a tiny amount of mild soap on the cloth, then wipe away any residue with a clean damp cloth. Don’t immerse the bag and don’t let it sit wet. Waxed cotton doesn’t need a bath; it needs a careful wipe-down.
If there’s a patch of white bloom or a cloudy film, don’t panic. It’s often just wax that has surfaced or dried unevenly, and a gentle warm-up with the hairdryer can help. If the fabric smells musty or has been stored damp, let it air thoroughly before you re-wax. Never seal moisture in under a fresh layer.
Step three: re-wax the tired bits
This is the part that feels like proper maintenance. Warm the wax slightly in your hands or with the hairdryer, then rub a thin layer into the areas that look dry or patchy. Corners, seams, strap edges and the base are the usual suspects. Use the hairdryer on low to work the wax into the fabric, keeping it moving. You want an even, thin coat, not a thick sticky slab.
Before and after is genuinely satisfying here. Dry panels darken, the surface evens out and the bag starts to look cared for again. Test a small hidden patch first if you’re unsure. If the bag feels tacky afterwards, you’ve probably used too much; wipe off the excess and warm it gently again. Less is more, and you can always add another layer later in the season.
Step four: dry it properly
Hang the bag or shape it loosely and leave it in a well-ventilated room. Keep it away from radiators, direct sun and anything that blasts heat. If you need to stuff it, use plain paper rather than anything printed, and don’t cram it so tightly that the seams strain. Give it a full day to settle. Putting a bag away even slightly damp is how you invite mildew, and mildew is far harder to fix than a dull patch.
Road salt, rain and the daily commute
UK winters are a mix of soft rain and gritty pavements. Road salt is the quiet enemy: it dries on the fabric, dulls the wax and can leave pale tide marks. In bad weather, wipe the lower half of the bag with a damp cloth every week or so and let it dry naturally. Don’t use a hot hairdryer to speed things up unless you’re working in wax; warm air and wet fabric aren’t a great combination for shape.
When the wax is doing its job, rain should bead and roll rather than soak straight in. If water starts darkening the fabric quickly, that’s your cue for a top-up. Keep an eye on the strap anchors too, since that’s where moisture and friction often meet.
Storage that doesn’t undo the work
Once the bag is clean and dry, store it in a breathable cotton dust bag rather than a plastic one. Keep it somewhere cool and dry, away from damp cupboards and hot pipes. Don’t squash it under a pile of shoes. A bit of air and a little space will help it keep its shape until the next outing. Before you store it for the season, check the pockets, brush the base and make sure there’s no lingering damp.
When to stop doing it yourself
Not everything belongs in a Sunday routine. A broken zip, torn lining, failed seam or a serious patch of mildew needs proper attention. So does fabric that has cracked or become brittle beyond a simple re-wax. Repairs are often cheaper than replacement, and a good bag is worth a small professional bill. The trick is knowing the difference between maintenance and a job that needs someone with better tools and more patience.
The Sunday payoff
An hour or so of brushing, wiping and waxing won’t make a bag new again, and it shouldn’t. The point is to keep it useful, weather-ready and a bit more characterful than it was before. By the time you hang it back by the door, the fabric should look darker, feel more supple and stand a better chance against the next bout of British weather. That’s a decent way to spend a Sunday afternoon.